How To Resize An Image In OpenNebula
Jump to navigation
Jump to search
- Open OpenNebula Sunstone and login.
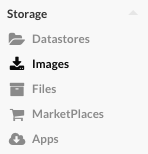
- Go to “Storage” in the left menu and click on “Images” in the drop down menu.
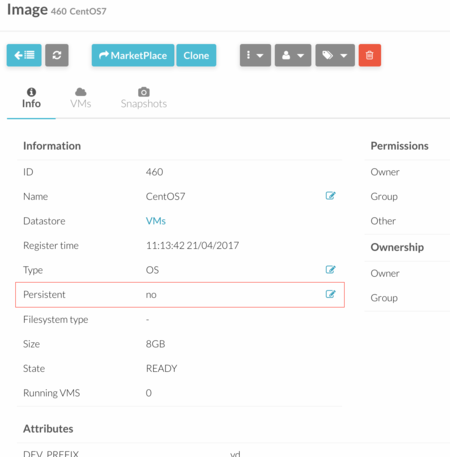
- Click on the image you want to resize, and make sure is not persistent in "Info" tab.
- Instantiate a Virtual Machine attaching your image as Storage Disk (See How modify a VM Template).
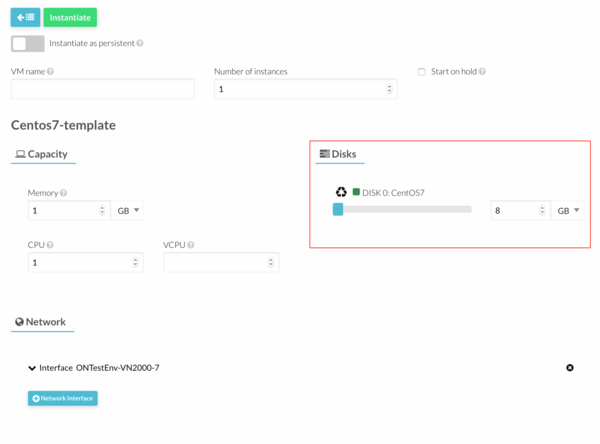
- A flyout will appear. In the right side, under "Disks", you can resize the image. Once done, click Instantiate button.
- As soon as the VM is running, Power it Off.
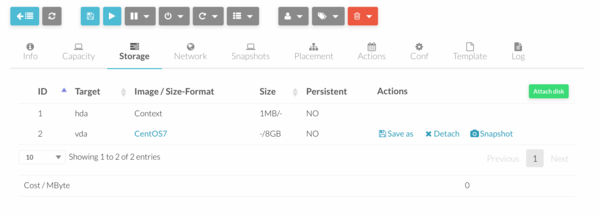
- Click on your VM and Go to "Storage" tab.
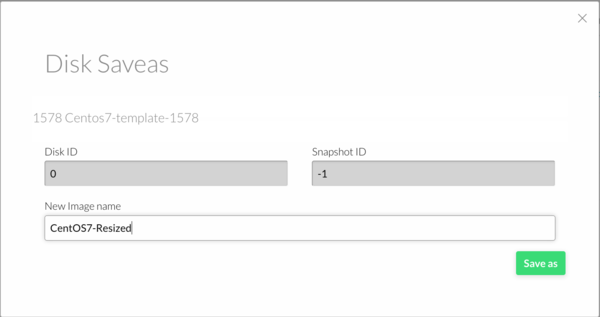
- Click "Save As" Action next to the disk image information.Specify an Image name and click "Save As".
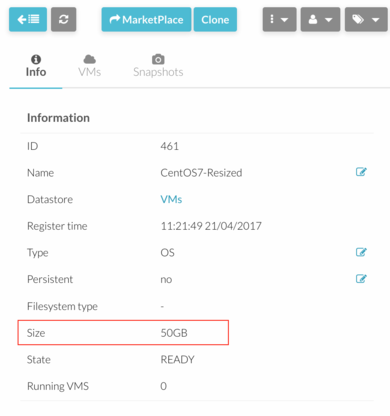
- Go to “Storage” in the left menu and click on “Images” in the drop down menu. You should see the new image with a resized disk.
- While OpenNebula is saving the image, it will be in "LOCKED" state. This image cannot be used until the state changes to "READY".
- If the image before the resize process was persistent after the resize change it back from no persistent to persistent. Otherwise leave it as non persistent.
- If the image will be used for a existing template change it in the VM template section/storage
