Difference between revisions of "How To Use OpenNebula AppMarket"
Jump to navigation
Jump to search
Client Admin (talk | contribs) |
|||
| Line 1: | Line 1: | ||
[[Category:OpenNebula]] | [[Category:OpenNebula]] | ||
[[Category:How To]] | [[Category:How To]] | ||
[[Category:CloudInfrastructure]] | |||
#Open OpenNebula Sunstone and [[OpenNebula_Administrative_Functions | login]]. | #Open OpenNebula Sunstone and [[OpenNebula_Administrative_Functions | login]]. | ||
#Go to “Storage” in the left menu and click on “Apps” in the drop down menu. | #Go to “Storage” in the left menu and click on “Apps” in the drop down menu. | ||
Revision as of 22:13, 20 March 2017
- Open OpenNebula Sunstone and login.
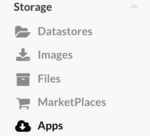
- Go to “Storage” in the left menu and click on “Apps” in the drop down menu.
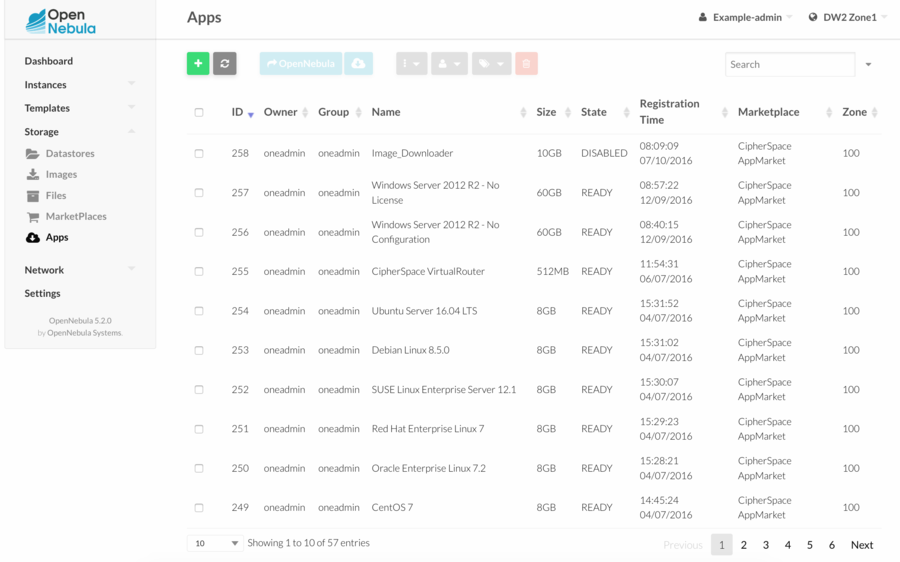
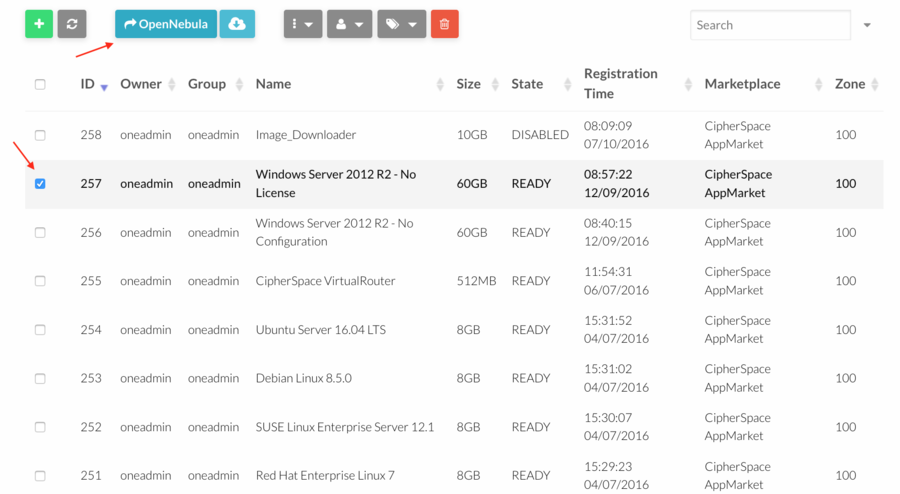
- A list of all available appliances will appear.
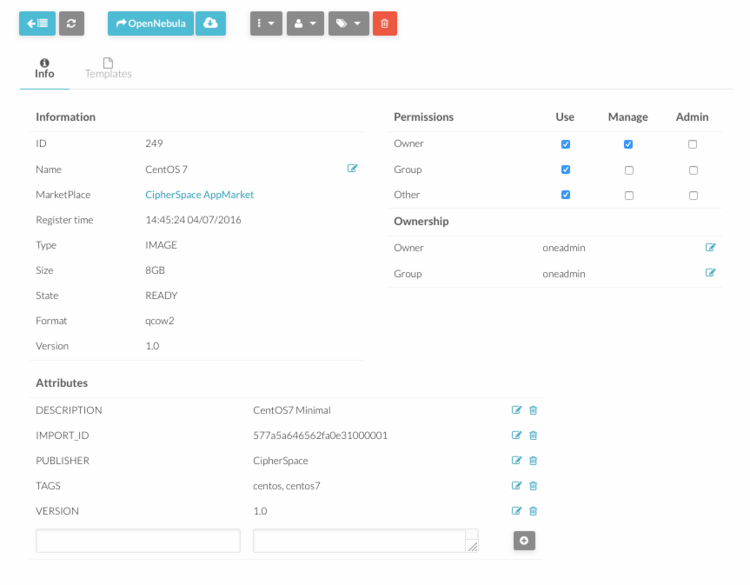
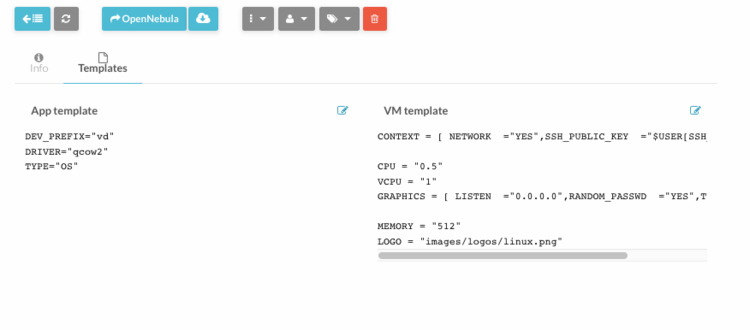
- Every appliance contains an image and an example template. Click on one appliance to view more details.
- To import an appliance, select it and click “Import” button.
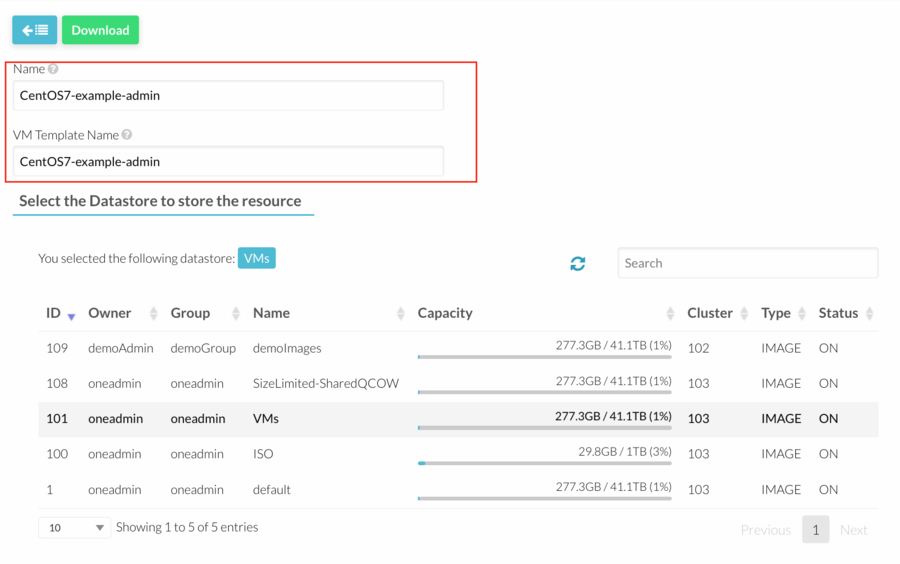
- A flyout will appear asking for a new image and new template name. It is very important to change the proposed image and template names, otherwise the import may fail because an image or a template with the same name may already exist.
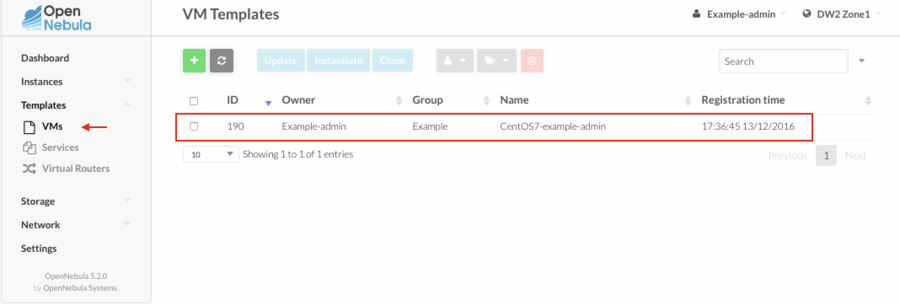
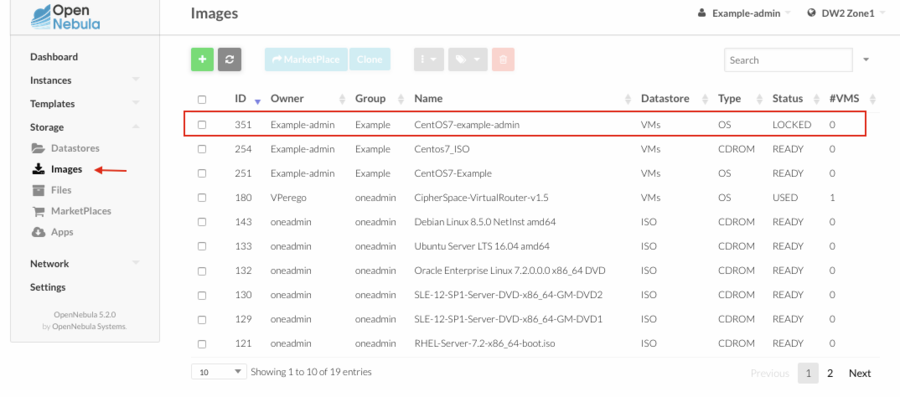
- Go to “Virtual Resources” in the left menu to see the image and the template just imported. Remember to adjust the template to your preferences before instantiating a new virtual machine.
- While OpenNebula is importing the image, it will be in "LOCKED" state. This image cannot be used until the state changes to "READY".
