Using PuTTY with SSH Key Pair
Jump to navigation
Jump to search
PuTTY
PuTTY is an SSH and telnet client, developed originally by Simon Tatham for the Windows platform. PuTTY is open source software that is available with source code and is developed and supported by a group of volunteers.
Install PuTTY
- Go to this site and download the MSI (Windows Installer) package for your architecture (32 or 64 bit).
- Run the installer and accept all the default values. You will need administrator rights to install the package.
Create a SSH Key Pair
- Start the program "PuTTYgen" (which was installed with PuTTY previously).
- Under "Parameters", for "Type of key to generate:" select RSA and in the field "Number of bits in a generated key:" put the value '4096'
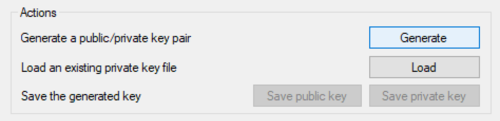
- Under "Actions", click on "Generate",
- then move the mouse on the blank area until the green bar is filled.
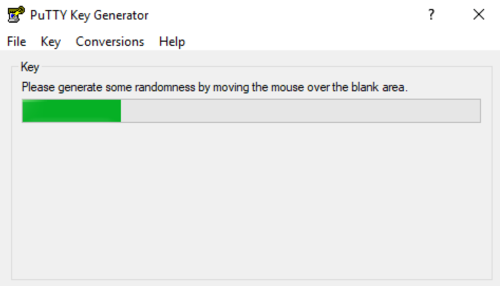
- You should get a similar screen:
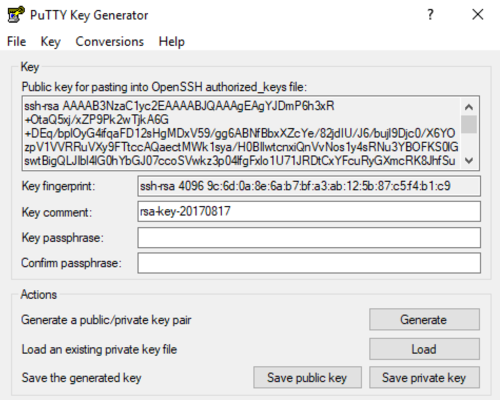
- Add a key passphrase in the fields "Key passphrase:" and "Confirm passphrase:".
- Click on "Save private key" and give it the name "CipherSpace"
- Click on "Save public key" and give it the name "CipherSpace.pub".
- Send the public key ("CipherSpace.pub") to CipherSpace in order to be included in your environment.


Create a PuTTY session
In order to connect to a machine via PuTTY for the first time, you need to create a session.
- Start the program "PuTTY"
- Go to "Session" and enter the host name (or IP address) and the port of the machine you want to reach. The connection type is "SSH".
- Optional: Go to "Connection -> Data" and enter the username for the machine you want to connect with.
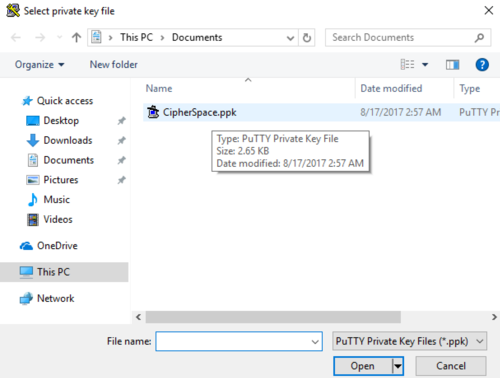
- Go to "Connection -> SSH -> Auth", then next to the field "Private key file for authentication:" click on the button "Browse..."
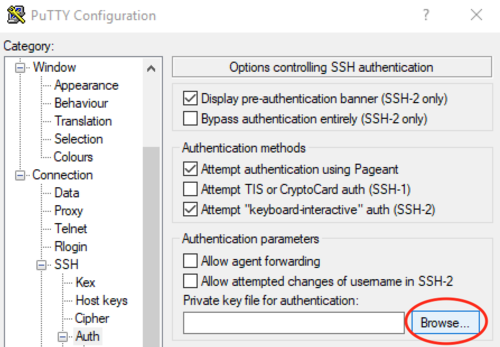
- and select the private key "CipherSpace.ppk".
- Go back to "Session", then under the field "Saved Sessions" enter a name (for instance "CipherSpace VM1") and click on "Save".
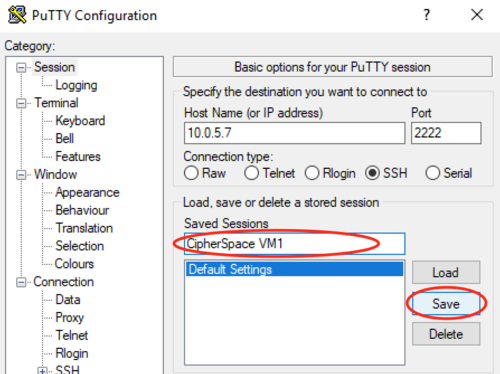
- You'll be able to load this configuration for a new session.


Connect with PuTTY
- Start the program "PuTTY"
- Go to "Session", then under the field "Saved Sessions" select the session you've created previously and click on "Load"
- Click on "Open"
- If you get the error "Network error: Connection refused",
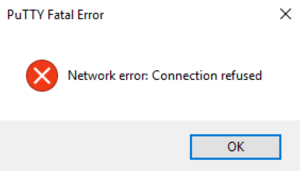
- close the window, restart PuTTY and under "Session" check that the hostname and the port are correct.
- The first time you connect to a machine, you will get the following warning:
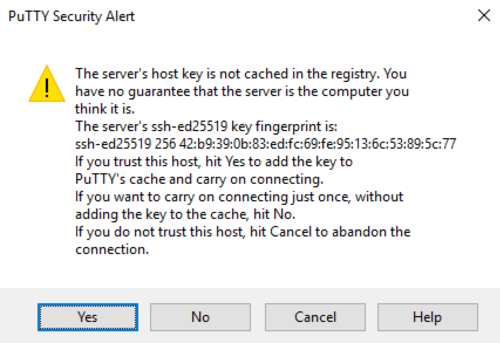
- Click on "Yes" to avoid the warning for the next sessions.
- If you get the error "Disconnected: No supported authentication methods available (server sent: publickey)",
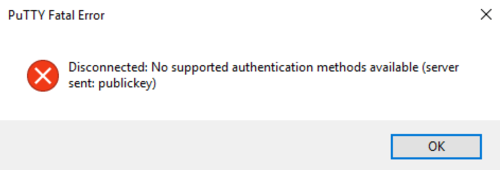
- it means you have forgotten to add your private key under "Connection -> SSH -> Auth" (see the point 4. in this section)


