How To Create and Use Security Groups in OpenNebula
What is a Security Group ?
A Security Group define firewall rules, which can then be applied to your VMs and/or your Virtual Networks.
Create a new Security Group
- Log into OpenNebula Sunstone.
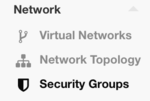
- Go to "Network" in the left menu and click on "Security Groups" in the drop down menu.
- A list with all existing security groups will appear.

- Click on the "+" button to create a new Security group.


Define a Security Group
A security group is defined by its name, an optional description and one or several rules.

Create a new rule
To create a new rule, you must specify the following parameters:
- Traffic direction: Choose between "Inbound" and "Outbound"
- Protocol: Choose between the following values:
- TCP
- UDP
- ICMP
- IPsec
- All
- Port range: Only available with TCP or UDP. You can either select "All" or you can specify a port range. Multiple ports or port ranges are separated using a comma, and a port range is specified using a colon. Example:
22,53,80:90,110,1024:65535 - ICMP Type: Only available with ICMP. Use the dropdown to select the desired type or you can leave it blank to allow all ICMP traffic.
- Target network: you can define wether this rule can be applied to
- any virtual network ("Any network"),
- a specific virtual network ("OpenNebula Virtual Network"),
- or a specific IP range ("Manual Network")
If you choose "Manual Network", you must specify the following values: - First IP address: the first IP of your range - Size: the number of IP adresses in your range (including the first)
When all the parameters are specified, click on "Add rule" to create the new rule.

When all the rules have been defined, click on "Create" to finish the creation of the new Security Group.

Use a Security Group
Apply the group to a Virtual Network
After you have applied a security group to a Virtual Network, the security group rules are copied to a new VM (attached to that Network) during the instantiation process.
To apply a security group to a Virtual Network, do the following steps:
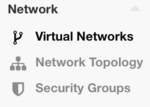
- Go to "Network" in the left menu and click on "Virtual Networks" in the drop down menu.
- A list with all existing virtual networks will appear.
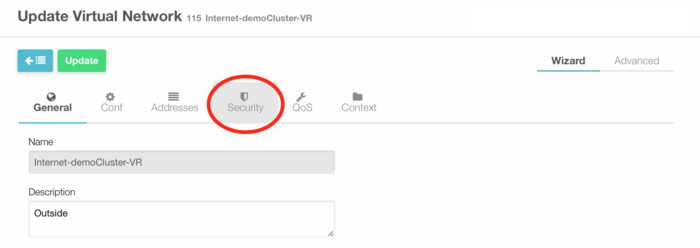
- Select the virtual network you want to apply these rules to and click on "Update"
- Go on the Security tab,
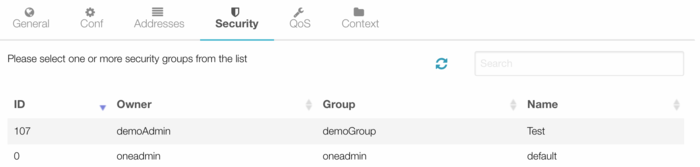
- and click on the security group you want to add.
- Click on "Update" to save your changes.


Apply the group to a specific Virtual Machine
If you need to apply the security group only to specific VM, you can attach a security group to a VM Template NIC as follows:
- Go to "Template" in the left menu and click on "VMs" in the drop down menu.
- A list with all existing templates will appear.
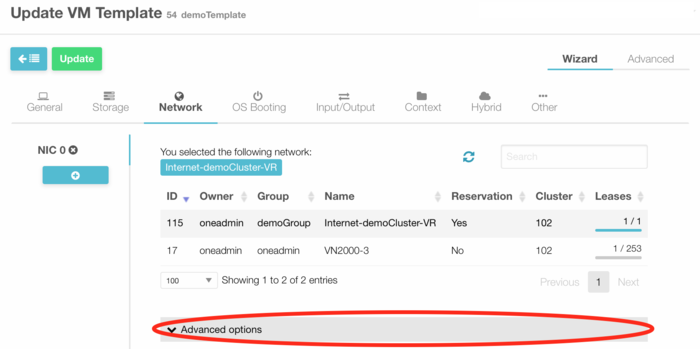
- Select the template you want to apply these rules to and click on "Update"
- Go on the Network tab
- Click on "Advanced options" and scroll down to "Security Groups"
- and click on the security group you want to add.
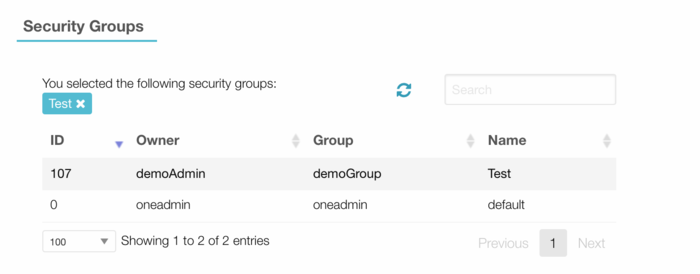
- Click on "Update" to save your changes.


Update a Security Group
Security Groups can be updated to edit or add new rules. These changes are propagated to all VMs in the security group, so it may take some time till the changes are applied. The particular status of a VM can be checked in the security group properties, where outdated and up-to-date VMs are listed.
To update a security group:
- Go to "Network" in the left menu and click on "Security Groups" in the drop down menu.
- A list with all existing security groups will appear.

- Select the group you want to update and click on "Update"
- Add rules accordingly or remove existing rules by clicking on the "x" button next to the rule.
- Click "Update" to save the changes. The updated rules are then propagated to all VMs in the security group
To see the propagation status, go back to the security group list, click on the group you've just updated and click on the VMs tab. You will see all VMs in this group and their status.