Difference between revisions of "Syncing Shared Files in OneDrive for Business"
Jump to navigation
Jump to search
Client Admin (talk | contribs) |
|||
| Line 1: | Line 1: | ||
[[Category:UCS]] | |||
[[Category:UserGuide]] | |||
[[Category:How To]] | |||
[[Category:Office365]] | |||
== Pre-requisites == | == Pre-requisites == | ||
Latest revision as of 13:56, 24 January 2018
Pre-requisites
The OneDrive Desktop app is installed on your local machine.
You can download the OneDrive Desktop app here.
Instructions
- Connect to your Office 365 account via a web browser,
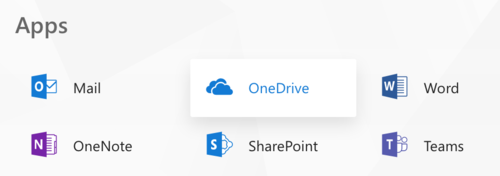
- Click on the OneDrive icon to start OneDrive:
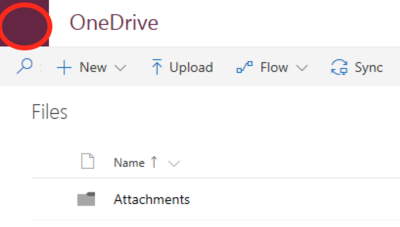
- A similar screen will appear
- If you only see your files and no menu on the left-hand side, click on the top left corner of the window to get the menu. (You can also enlarge the size of your browser window to make the left-hand menu appear.)
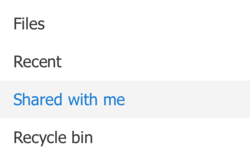
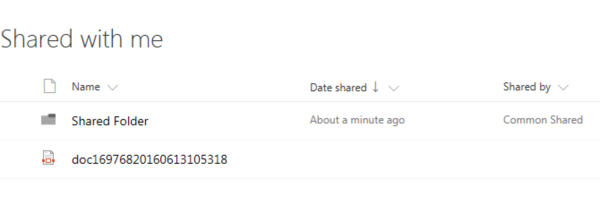
- In the menu, click on "Shared with me". You will see the list of files and folders which are shared with you. See the following example:
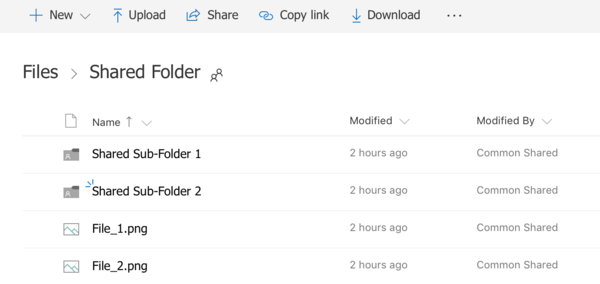
- Click on the folder to see its contents:
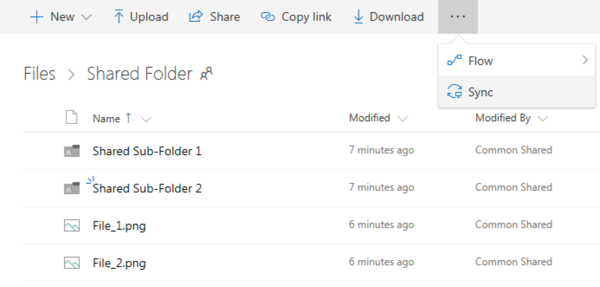
- And on the menu above, click on "Sync". Depending on the window's size, the option may be hidden, so click on the "..." to make it appear:
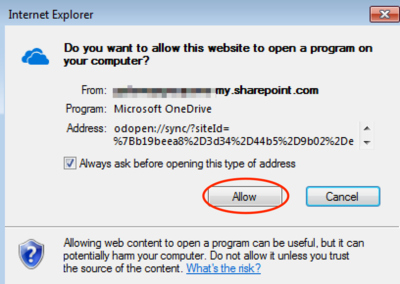
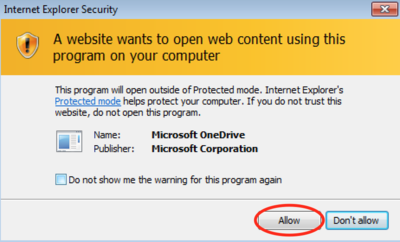
- You may receive some warnings. Click on "Allow" for all warnings.
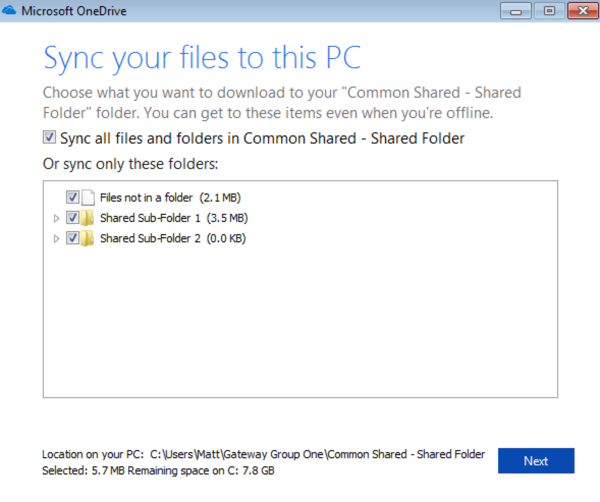
- The OneDrive Desktop app will then open and a similar window will appear:
- Select all the files and folders you want to sync (they are all selected per default) and click on "Next" to continue.
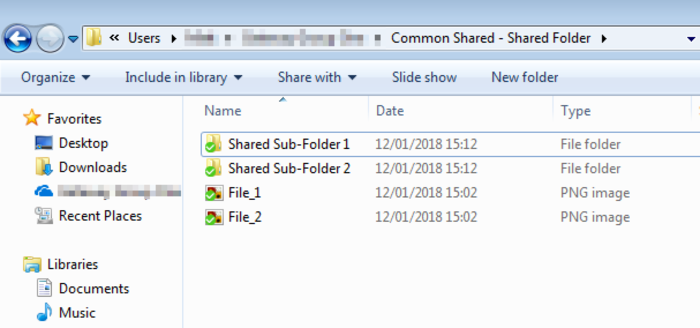
- In your local user directory, you will see a new directory structure, where the files and folders have been synced.
